Create an Agent
Open Agents in the sidebar and select Create agent, or choose Create agent in the agent selector. Both open/agents/new.
Choose a starting point
- From scratch: Select Create agent and enter your own settings.
- From a template: On the Agents page, select Browse templates, filter the list, and choose Use template. Review every prefilled value before saving.
Complete the initial setup
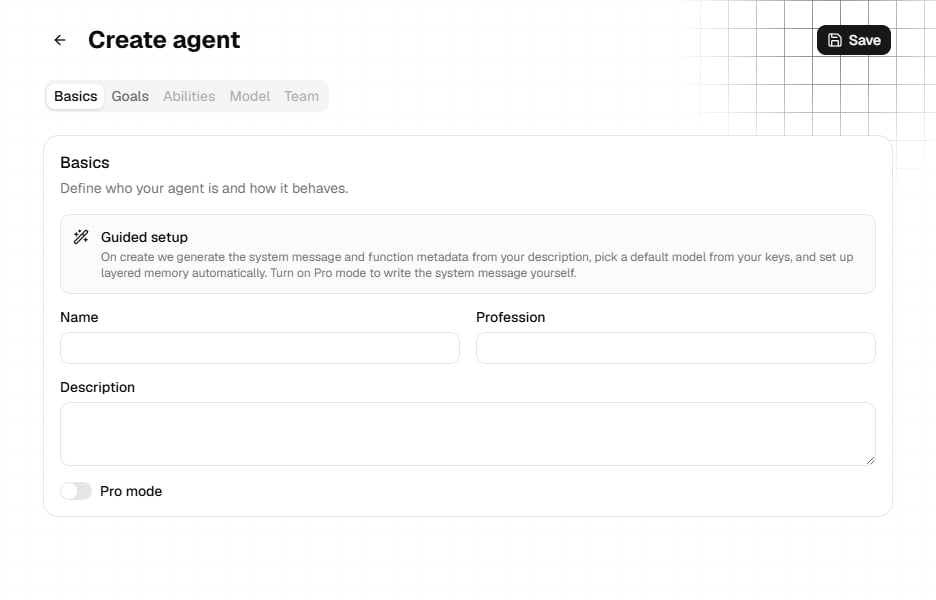
The new-agent page starts with Basics and Goals.Basics
- Name: Required.
- Profession: The role shown with the agent.
- Description: Required to be at least 50 characters for a new agent. The field accepts up to 250 characters.
Guided setup and Pro mode
Guided setup uses the description to generate missing system and function metadata, selects a default model from available provider keys, and attempts to set up layered memory. Turn on Pro mode when you want to write the system message, function name, and function description yourself. You can also generate a system message from the current description.Goals
Use Goals to add a northstar and measurable long-term goals when they are useful for the agent. Goals are optional during creation.Save before continuing
Select Save. The Hub creates the agent and routes you to/agents/{agentId}.
Creation can continue even if optional model attachment or memory setup is unavailable. Review the saved agent before relying on those settings.
Next steps
Edit the agent
Configure all five editor tabs and add a profile image.
Test in Chat
Select the saved agent and verify its behavior in a conversation.