Workshop 2: Creating Your First AI Expert
Duration: 45 minutes | Level: Beginner | Prerequisites: Workshop 1
What You’ll Build
In this workshop, you’ll create a fully functional AI expert - a Customer Support Agent that can answer questions about a fictional product.Project: TechSupport AI
We’ll create an expert for a fictional company called “TechGadgets Inc.” that sells smart home devices.Expert Specification
| Property | Value |
|---|---|
| Name | TechSupport AI |
| Role | Customer Support Agent |
| Specialty | Smart home devices |
| Tone | Friendly, helpful, professional |
Step 1: Create Expert
Navigate to Expert Manager
There are two ways to access the Expert Manager:Method 1: Expert Card
Click the Expert Card right below the logo in the sidebar. This card shows your currently selected expert and opens the Expert Manager when clicked.
Method 2: Sidebar
Click Expert in the sidebar navigation menu to go directly to the Expert Manager page.
The Expert Manager
Once in the Expert Manager, you’ll see:- Your existing experts displayed as cards
- Create new Expert button at the top
- Browse Templates button to use pre-made experts
- Tabs to filter by My Experts or by Company
- Profile picture
- Expert name
- touch_app button - Click to SELECT this expert
- edit button - Modify expert settings
- delete button - Remove the expert
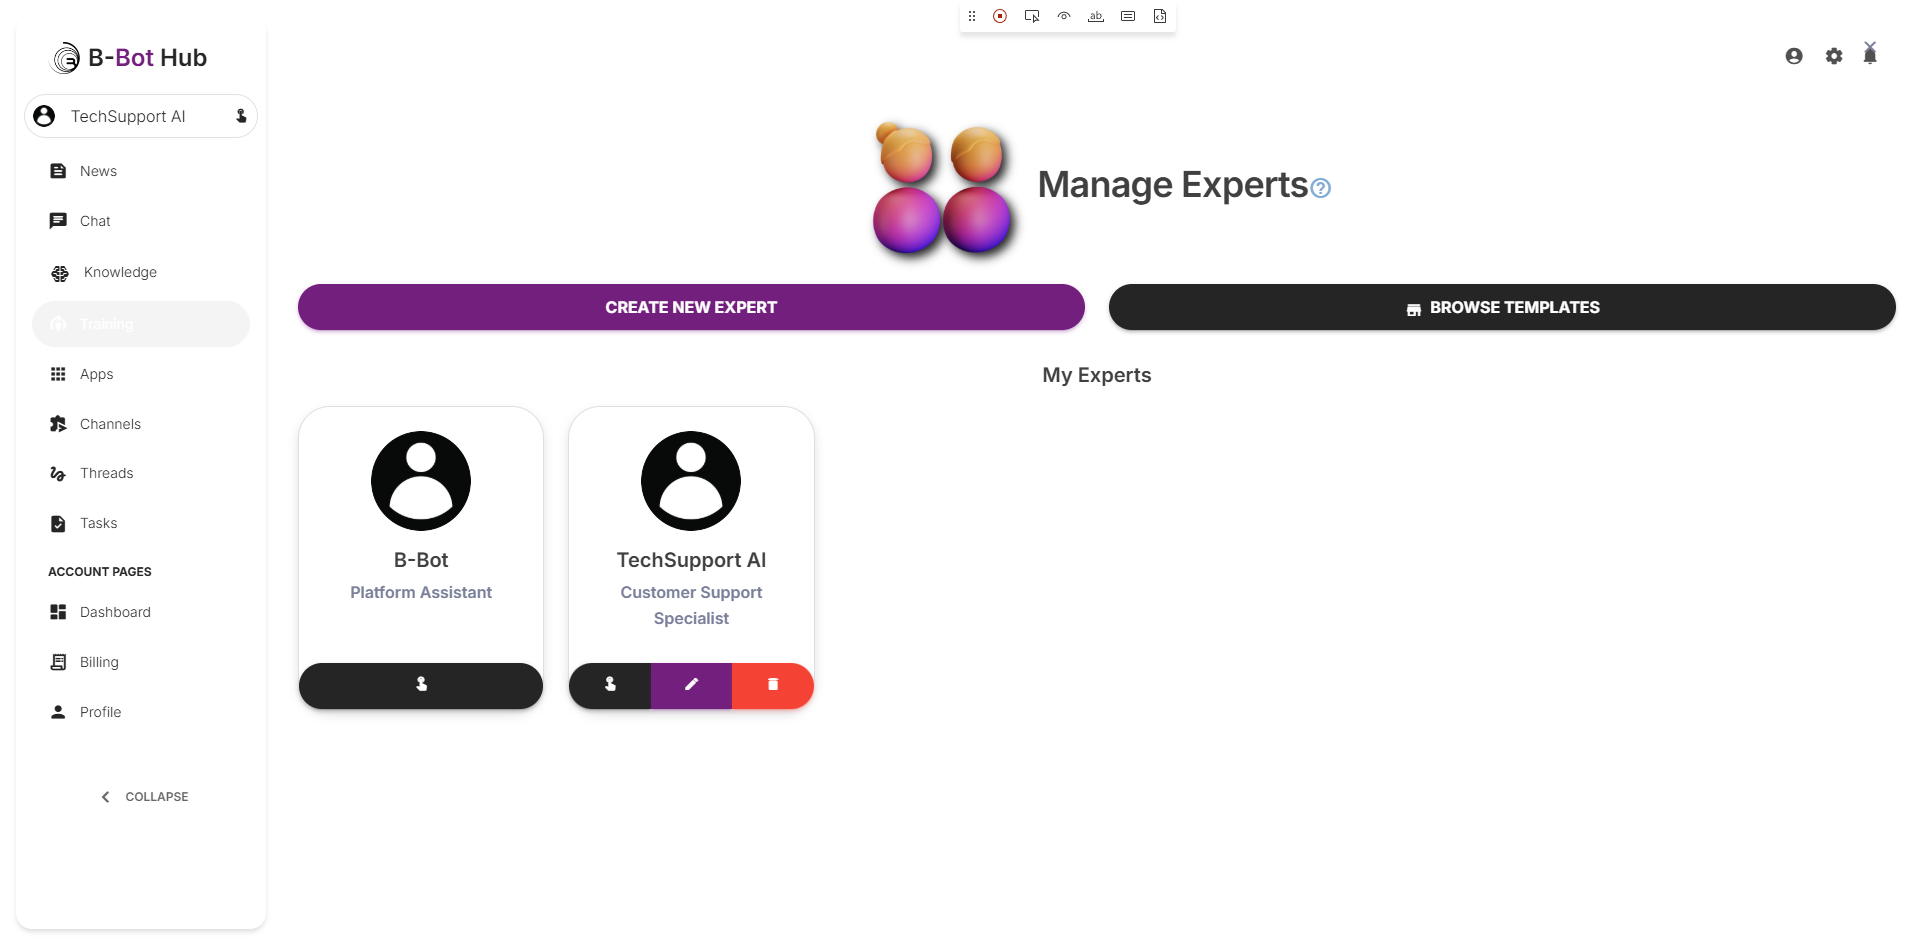
Create a New Expert
Click the Create new Expert button to open the simplified creation modal.The Simplified Creation Modal
The Create Expert modal is streamlined for quick expert creation:| Field | Description |
|---|---|
| Pro Mode | Toggle for advanced options (optional) |
| Name | The expert’s display name |
| Profession | Their role or title |
| Description | A brief description of the expert’s purpose (max 250 characters) |
Simplified Creation: The system automatically selects a small, efficient model based on your available provider keys. You can customize everything else (profile picture, abilities, templates, model) by editing the expert after creation.

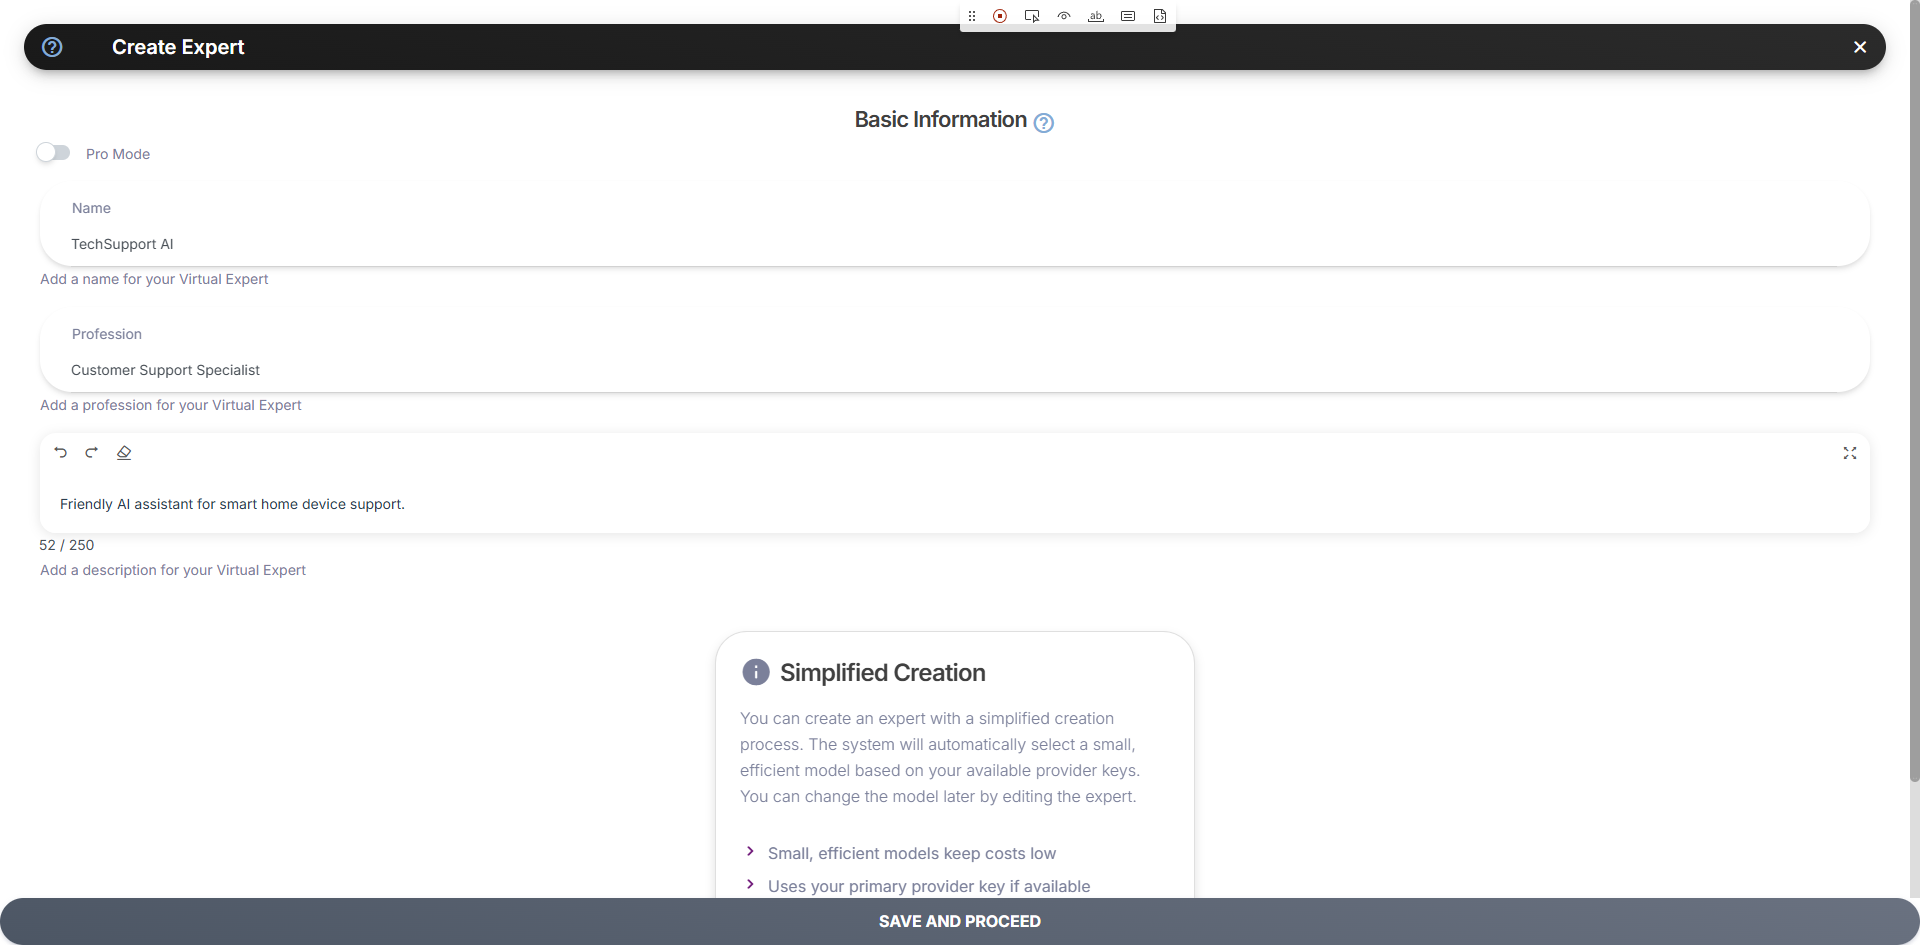
Fill Basic Information
- Name
- Profession
- Description
Enter a clear, descriptive name:
Your expert is now created! It will use a default model automatically. To add a profile picture, abilities, templates, and customize the model, you need to Edit the expert.
Step 2: Edit Your Expert
Now that your expert is created, let’s customize it. Click the edit button on your expert’s card in the Expert Manager.The Edit Expert interface gives you full access to all customization options: profile picture, abilities, templates, model selection, app connections, and team settings.
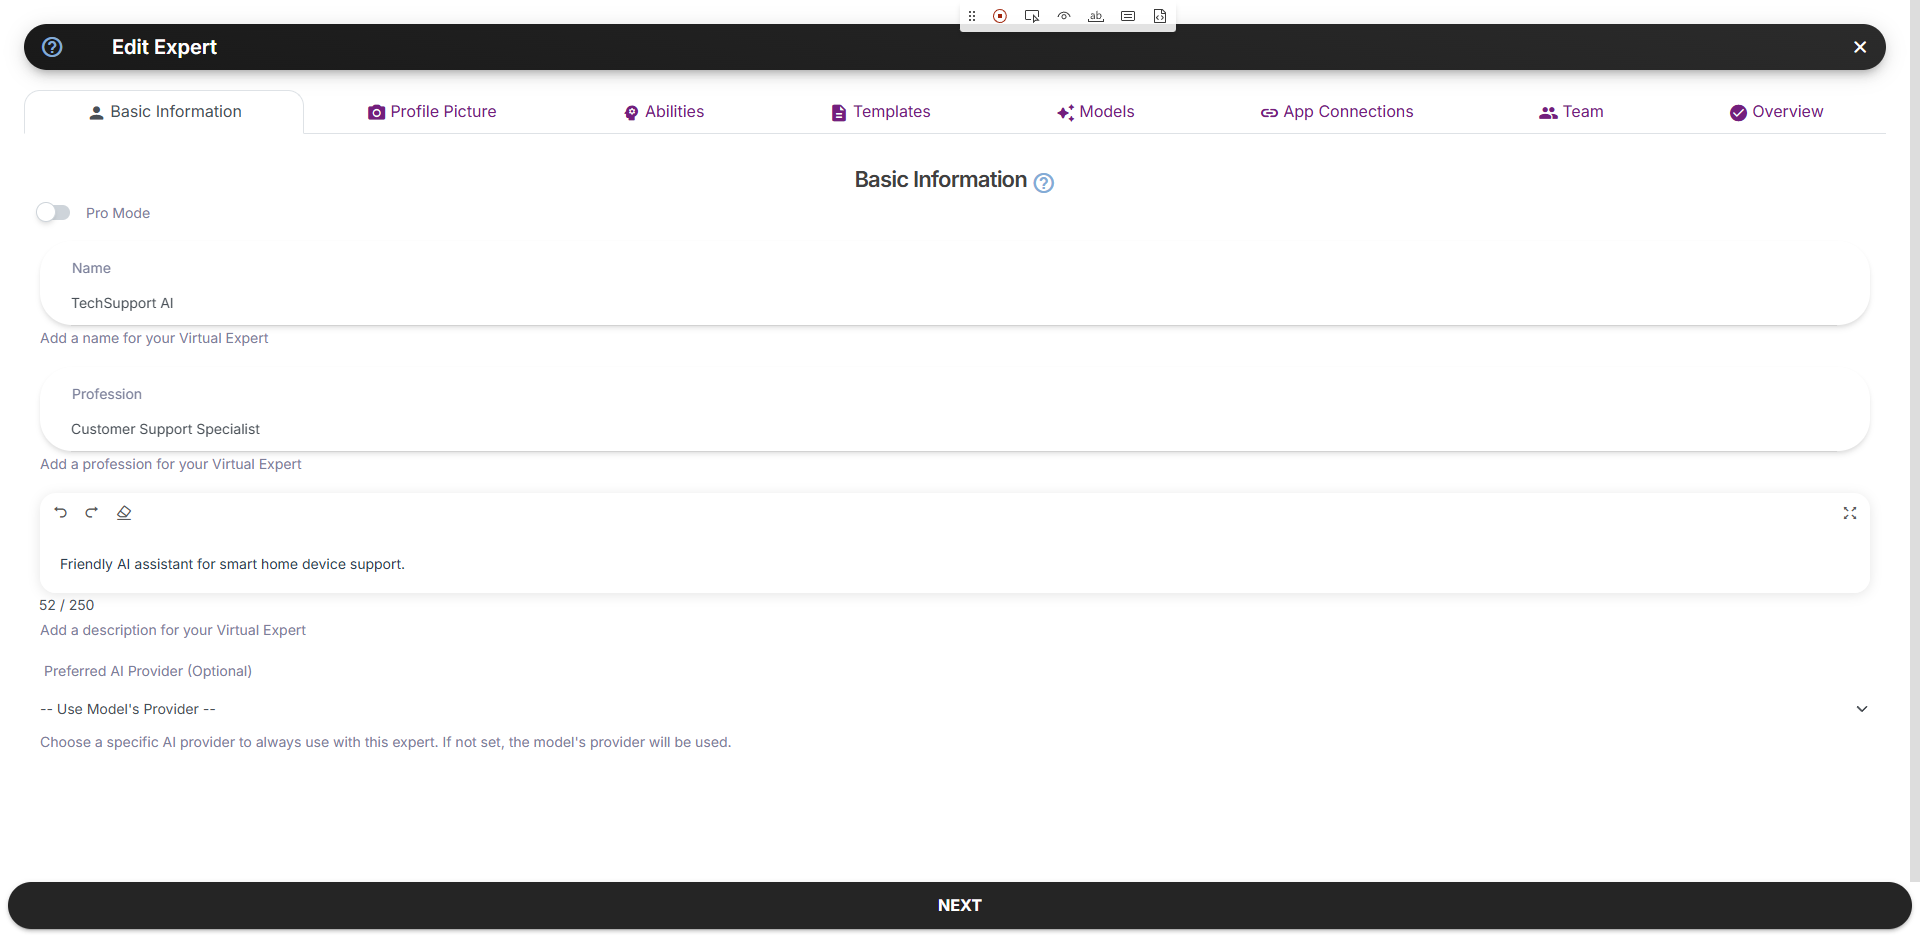
The Edit Expert Interface
The Edit Expert modal has several tabs for comprehensive customization:| Tab | Purpose |
|---|---|
| Basic Information | Edit name, profession, description, and preferred AI provider |
| Profile Picture | Upload, AI-generate, or use URL for profile image |
| Abilities | Define specific behaviors for your expert |
| Templates | Create pre-written conversation starters |
| Models | Configure main AI model and input/output modalities |
| App Connections | Manage connected apps and integrations |
| Team | Add other experts to collaborate |
| Overview | Review all settings at a glance |
Advanced Features:
- App Connections - Only shows connections after you connect apps via the Apps page (
/apps) - Team - Requires at least 2 experts to be created before you can build a team
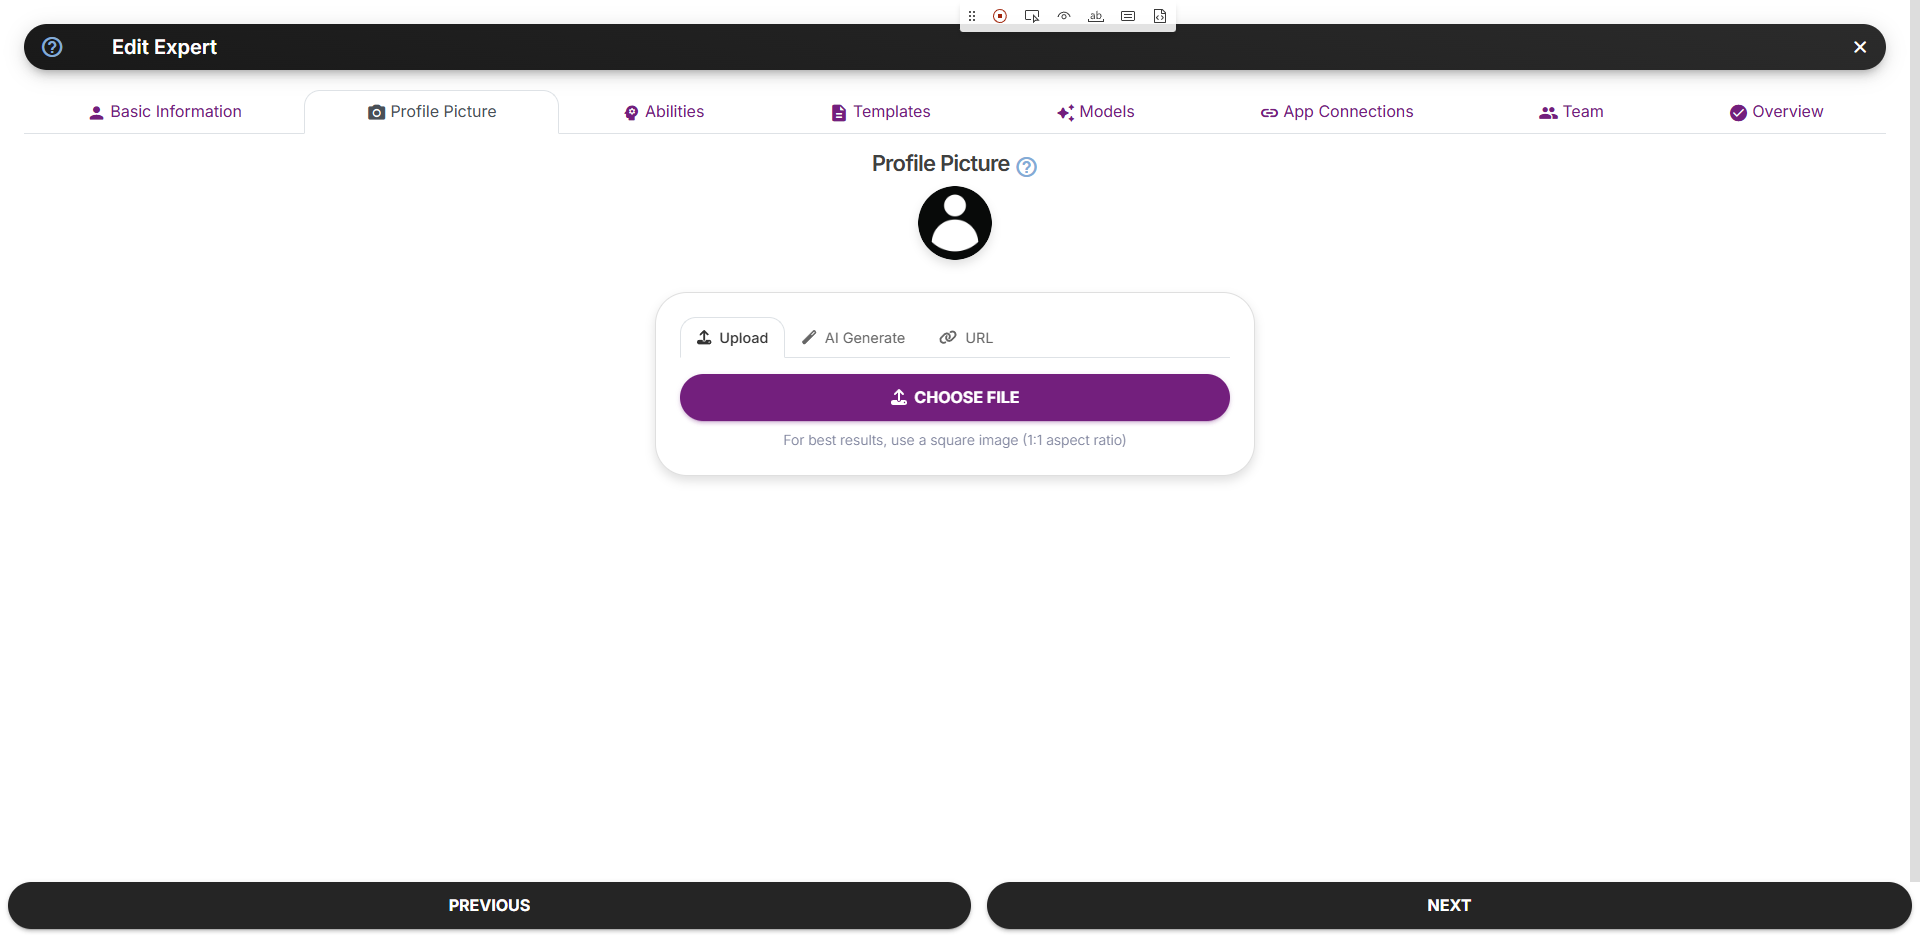
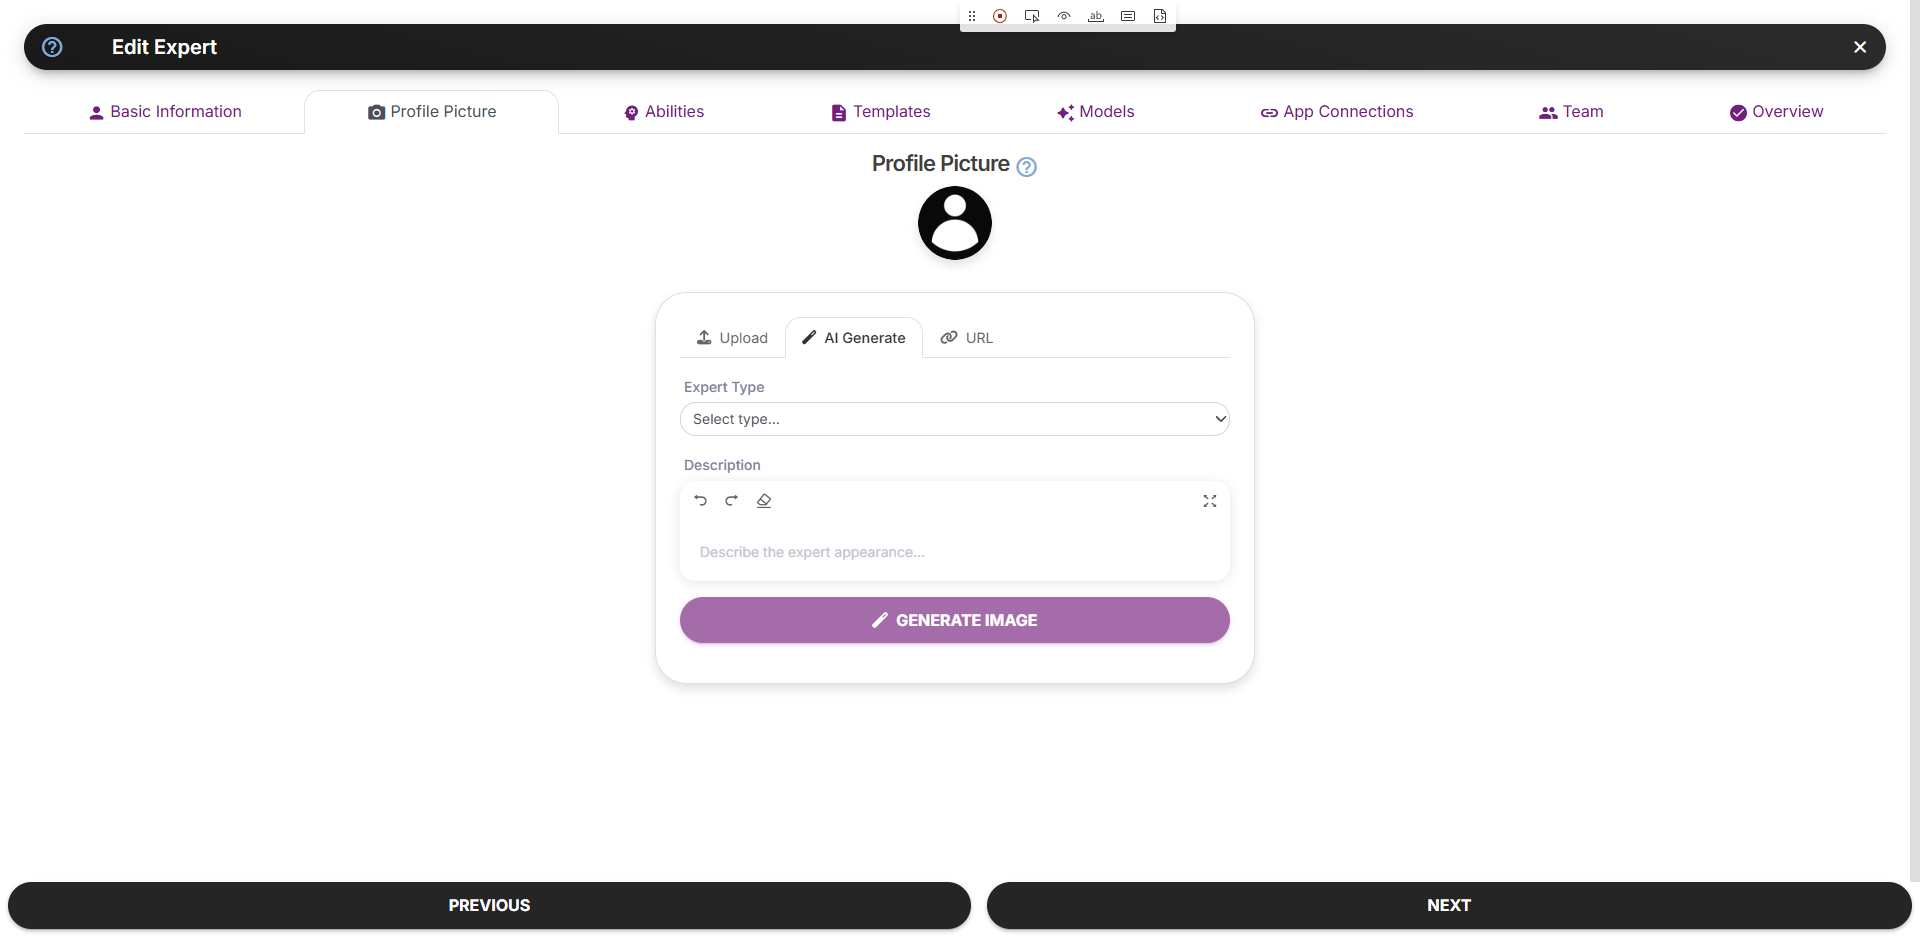
Add a Profile Picture
Navigate to the Profile Picture tab. You’ll find three options:Upload
Upload an existing image from your computer
AI Generate
Let AI create a professional avatar
URL
Use an image from the web
🎯 Exercise: Generate an AI Profile Picture
- Click the AI Generate tab
- Select an Expert Type (e.g., “Technology Expert”)
- Enter a description like:
Professional customer support agent, friendly smile, modern office background - Click Generate Image
- Select your favorite result
The AI will generate several options. Pick the one that best represents your expert’s personality!
Step 3: Define Abilities
Navigate to the Abilities tab. Abilities are specific behaviors your expert can activate. They act as “wake words” that guide the model’s responses.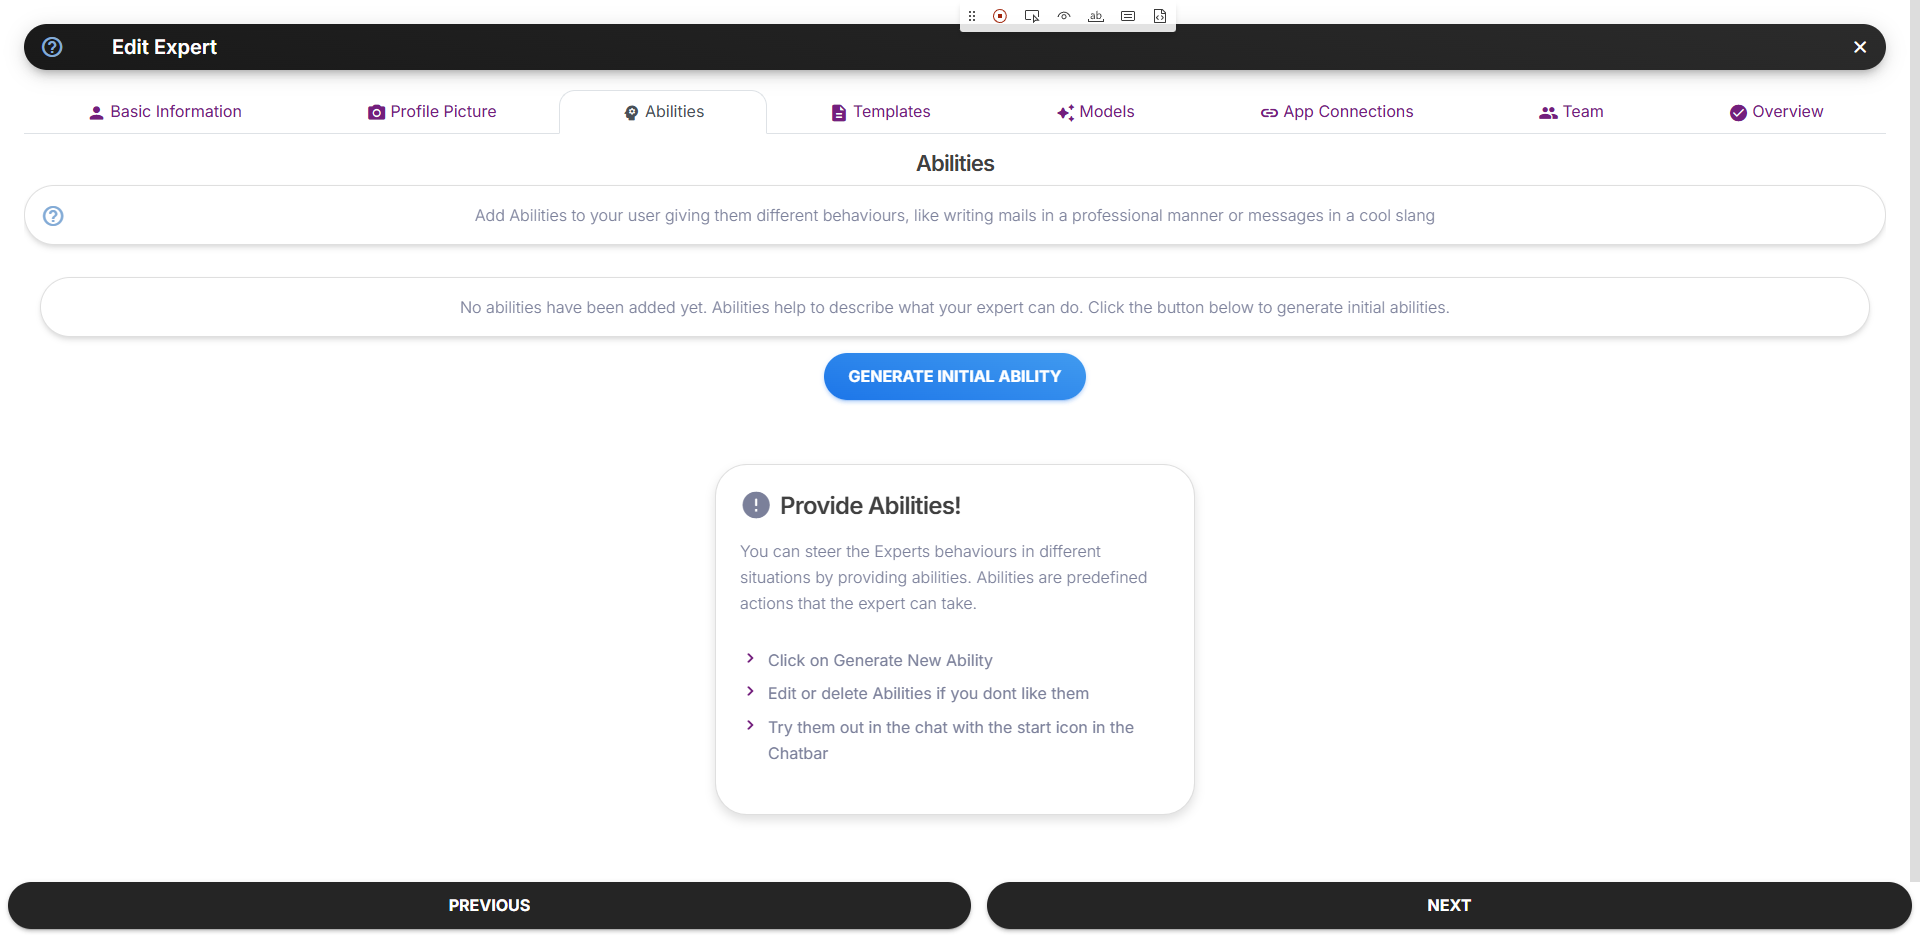
What Makes a Good Ability?
✅ Good Abilities
- Short and clear
- Specific behavior
- Actionable instruction
- One sentence
❌ Avoid
- Long paragraphs
- Vague descriptions
- Multiple behaviors
- Complex instructions
Add These Abilities
Click Add Ability and enter each of these:Ability 1: Troubleshooting Mode
Ability 1: Troubleshooting Mode
Ability 2: Setup Assistant
Ability 2: Setup Assistant
Ability 3: Product Expert
Ability 3: Product Expert
Ability 4: Friendly Helper
Ability 4: Friendly Helper
Step 4: Add Templates
Navigate to the Templates tab. Templates are pre-written prompts that users can click to start conversations quickly.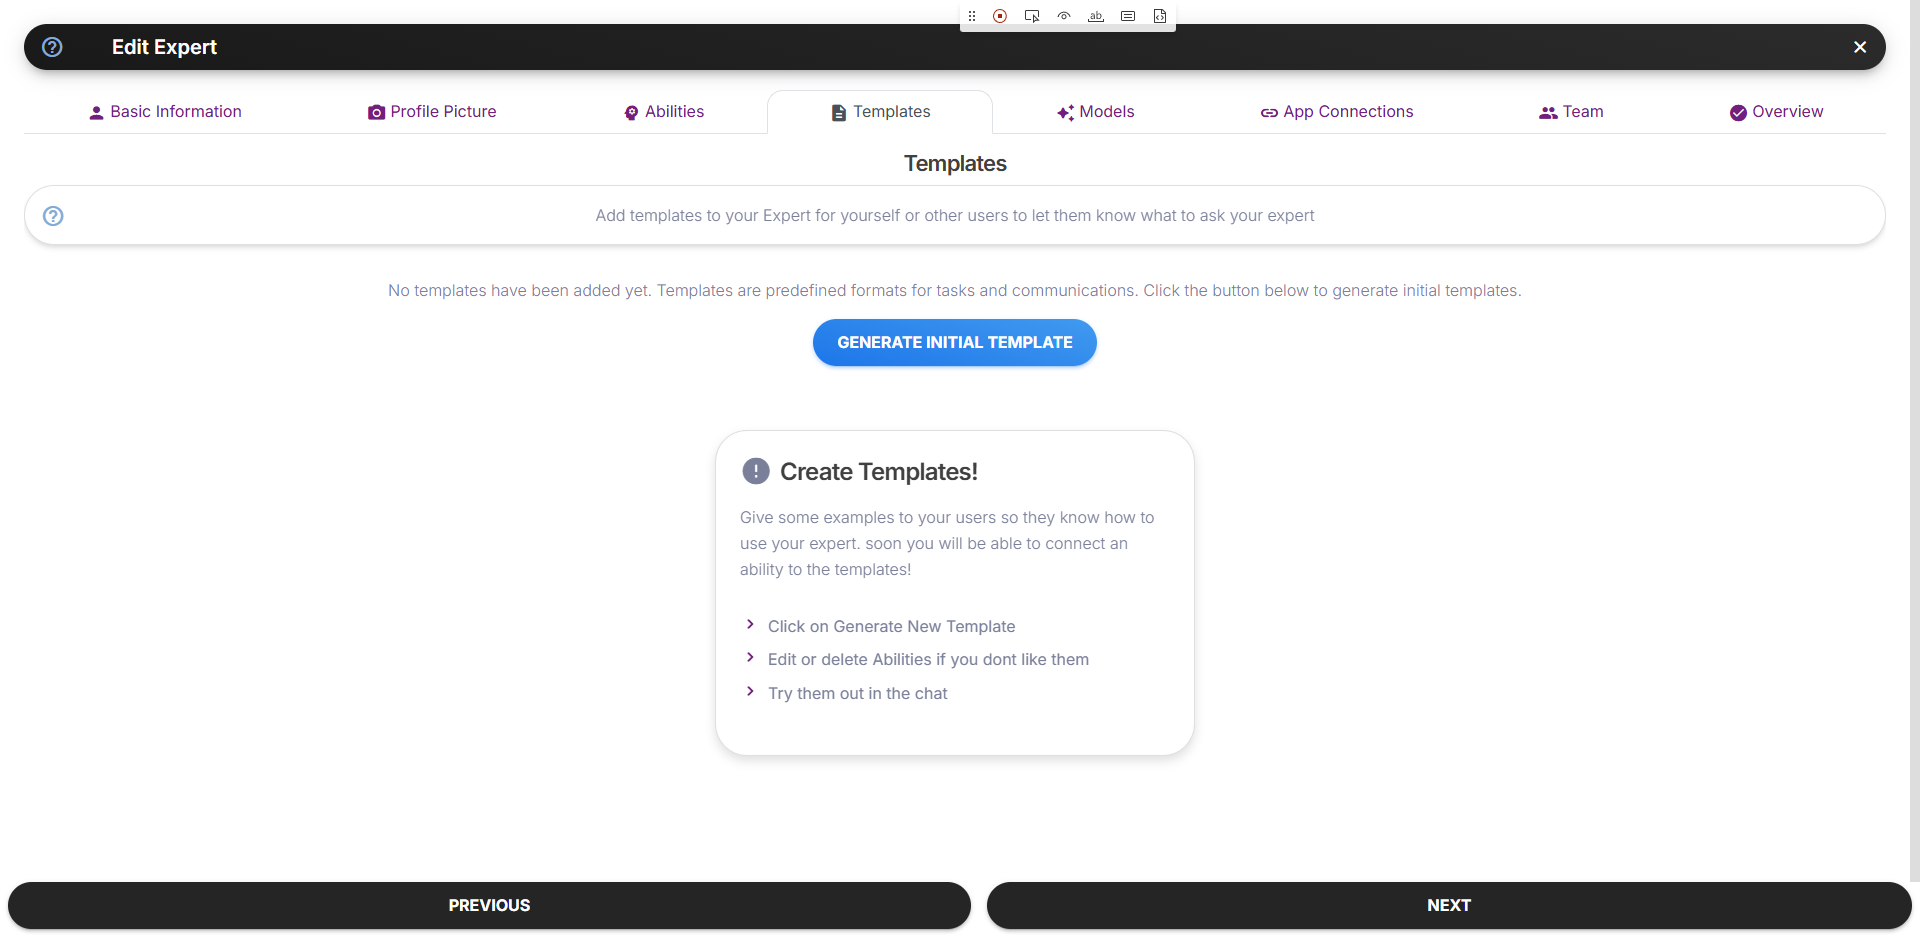
Why Templates Matter
- Help users understand what your expert can do
- Reduce friction for first-time users
- Showcase your expert’s capabilities
- Improve user engagement
Add These Templates
Click Generate Initial Template or add them manually:- Template 1
- Template 2
- Template 3
- Template 4
Title: Setup HelpPrompt:
Step 5: Choose Your Model
Navigate to the Models tab. The model selection determines your expert’s capabilities, speed, and cost.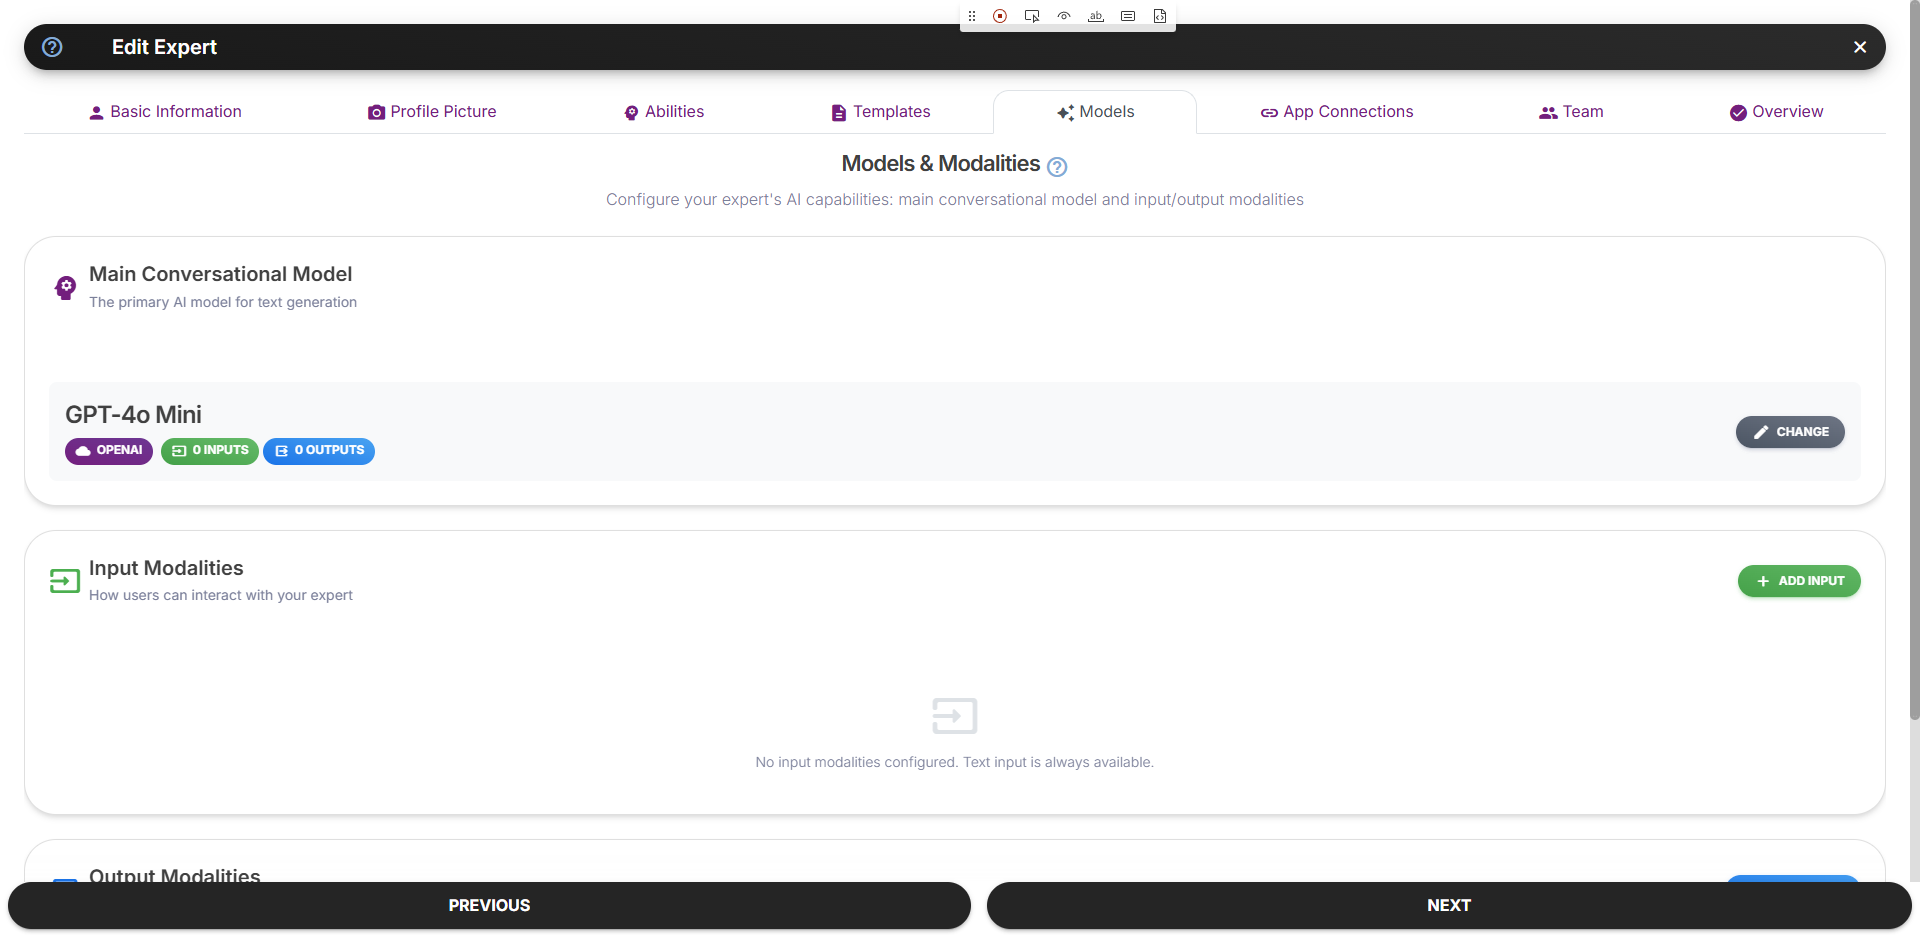
Model Comparison
| Model | Best For | Speed | Cost |
|---|---|---|---|
| GPT-4o | Complex reasoning, nuanced responses | Medium | $$$$ |
| GPT-4o-mini | Balanced performance | Fast | $$ |
| Claude 3.5 Sonnet | Long conversations, analysis | Medium | $$$ |
| Gemini Pro | Multilingual, factual | Fast | $$ |
Recommended for Customer Support
For our TechSupport AI, we recommend:GPT-4o-mini
Why: Fast responses, good at following instructions, cost-effective for high-volume support use cases.
Configure Model Settings
| Setting | Recommended Value | Description |
|---|---|---|
| Temperature | 0.7 | Balances creativity and consistency |
| Max Tokens | 1024 | Enough for detailed responses |
| Top P | 0.9 | Standard sampling |
Step 6: Review & Save
Navigate to the Overview tab to review all your expert’s settings at a glance: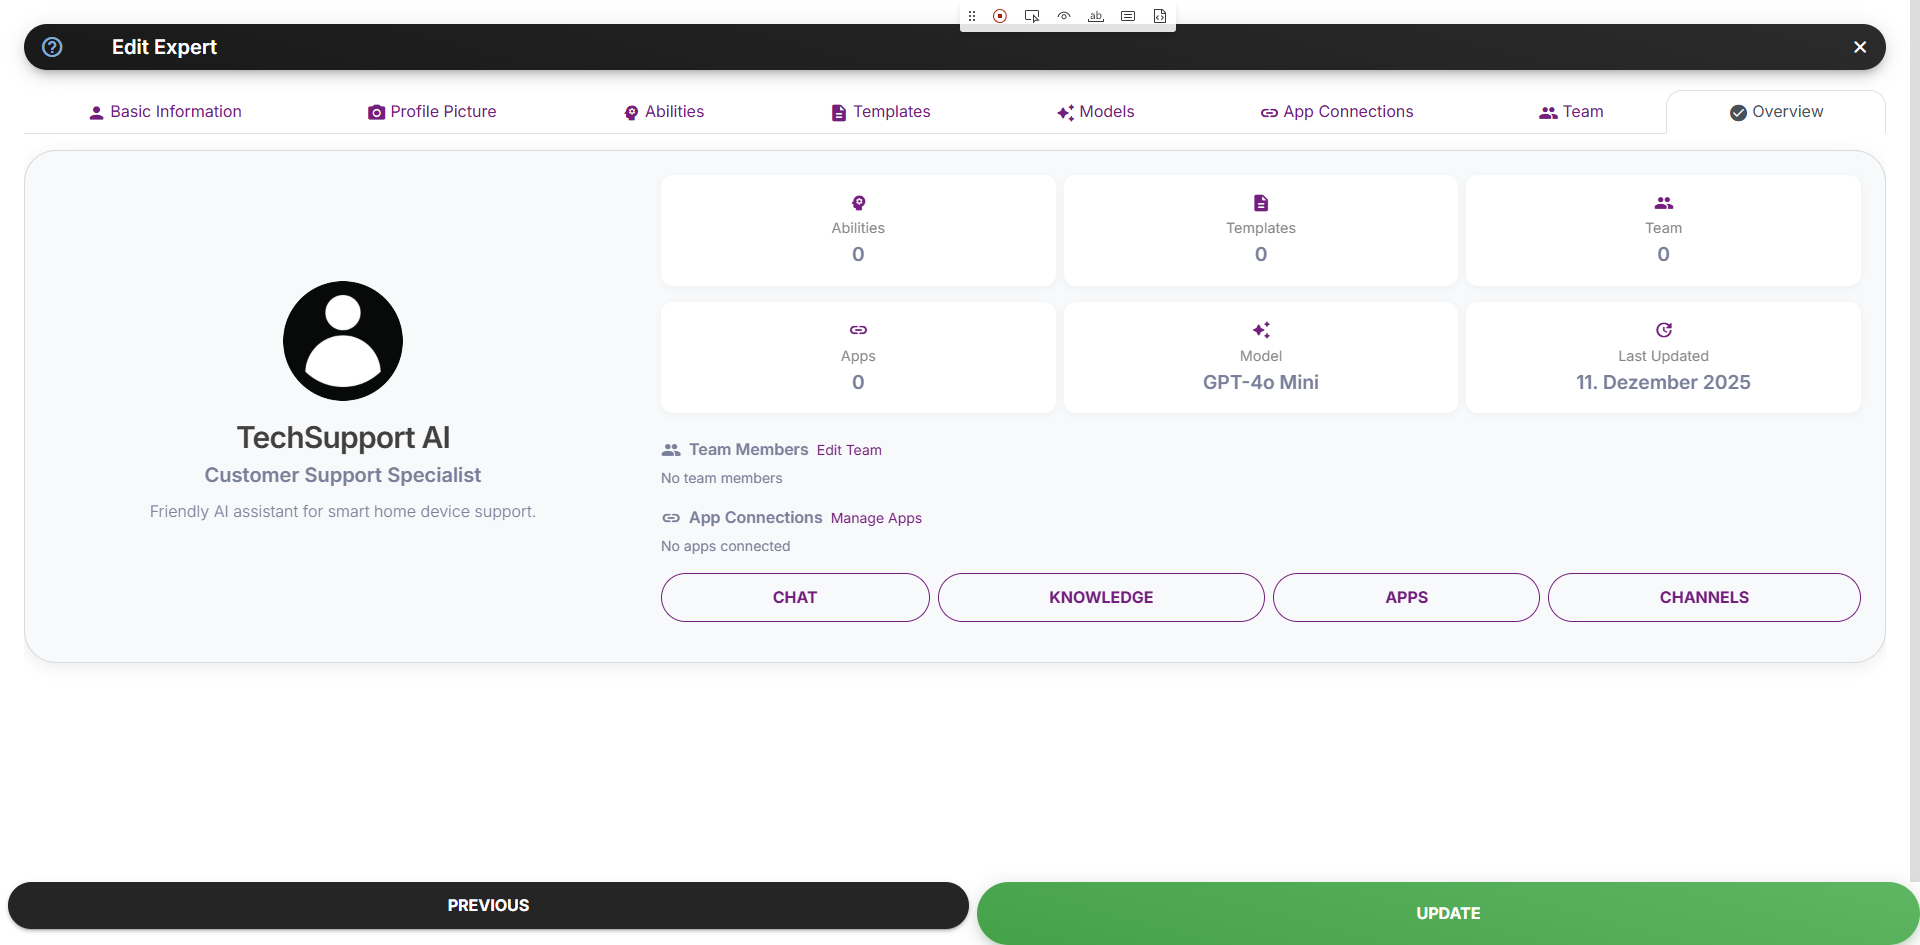
Checklist:
- Name is clear and professional
- Description accurately represents the expert
- Profile picture looks appropriate
- At least 3-4 abilities defined
- At least 3-4 templates created
- Model selected based on use case
🎉 Congratulations!
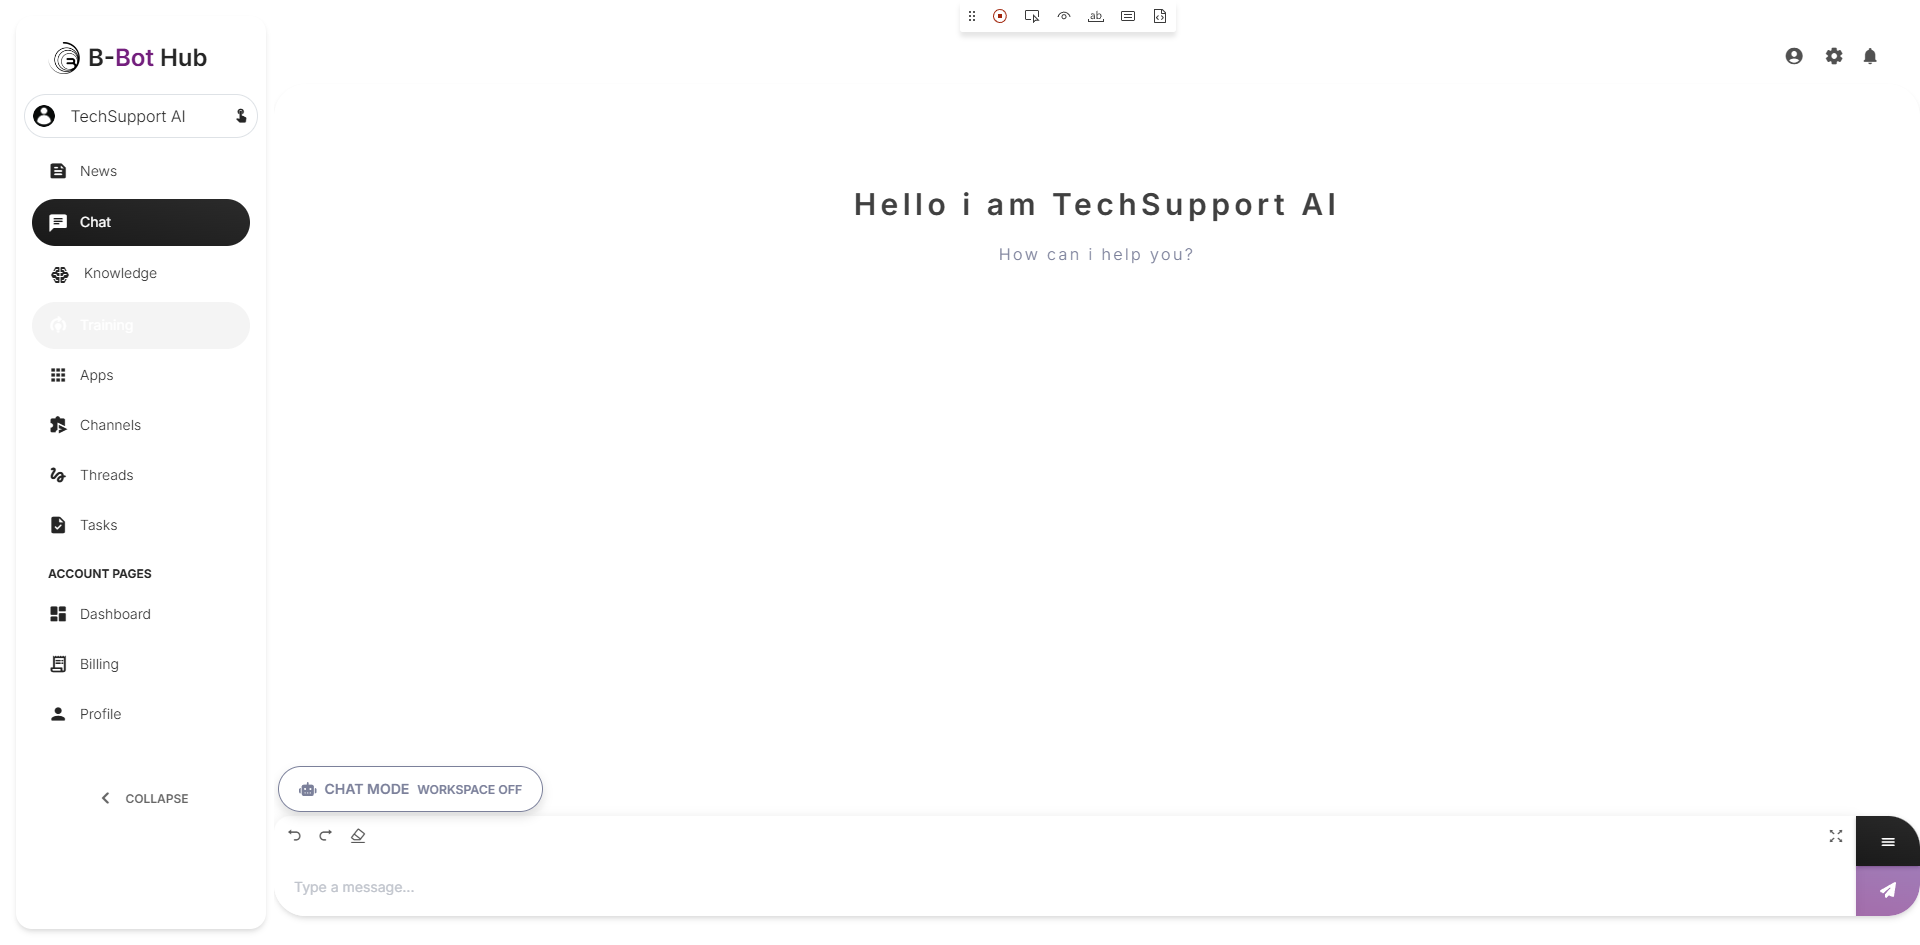
You’ve created your first AI expert! Now let’s test it.Step 7: Test Your Expert
Start a Chat
- Go to Chat in the sidebar
- Find your TechSupport AI expert
- Click Chat to start a conversation
Test Conversations
Try these test prompts:- Test 1: Setup Help
- Test 2: Troubleshooting
- Test 3: Product Info
Evaluate Responses
Ask yourself:- Is the tone friendly and professional?
- Are instructions clear and helpful?
- Does it ask clarifying questions when needed?
- Does it stay in character?
🎯 Challenge Exercise
Enhance your TechSupport AI:Common Issues & Solutions
Expert gives generic responses
Expert gives generic responses
Solution: Make abilities more specific and add more detailed description text.
Expert doesn't stay in character
Expert doesn't stay in character
Solution: Add an ability like “Always maintain the friendly TechSupport AI persona”
Responses are too long/short
Responses are too long/short
Solution: Adjust Max Tokens setting or add an ability about response length
Key Takeaways
1. Clear Identity
A well-defined name, profession, and description sets the foundation
2. Specific Abilities
Short, actionable abilities guide behavior better than long instructions
3. Helpful Templates
Templates reduce friction and showcase capabilities
4. Right Model
Choose models based on use case, not just capabilities
Next Steps
🎯 Tutorial: Chat Mastery
Learn advanced chat features like voice, files, and memories
Connect Apps
Add integrations to expand your expert’s capabilities